Adding a guest is a straightforward process that allows you to maintain accurate guest records and streamline your operations. This guide will walk you through the steps to add a guest to your HelloShift account.
Step 1: Accessing the Add Guest Feature
To begin, follow these steps:
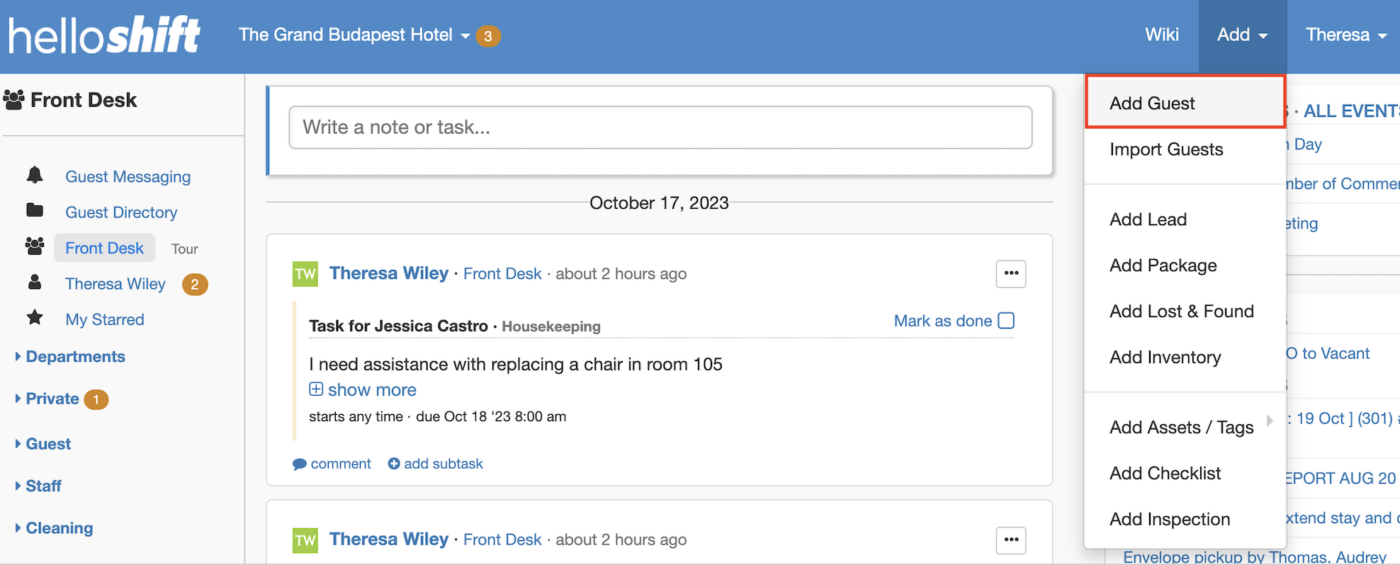
- Click on the “Add” option in the main menu, which is typically located in the top navigation bar of your HelloShift dashboard.
- From the dropdown menu, select “Add Guest.”
Step 2: Entering Guest Information
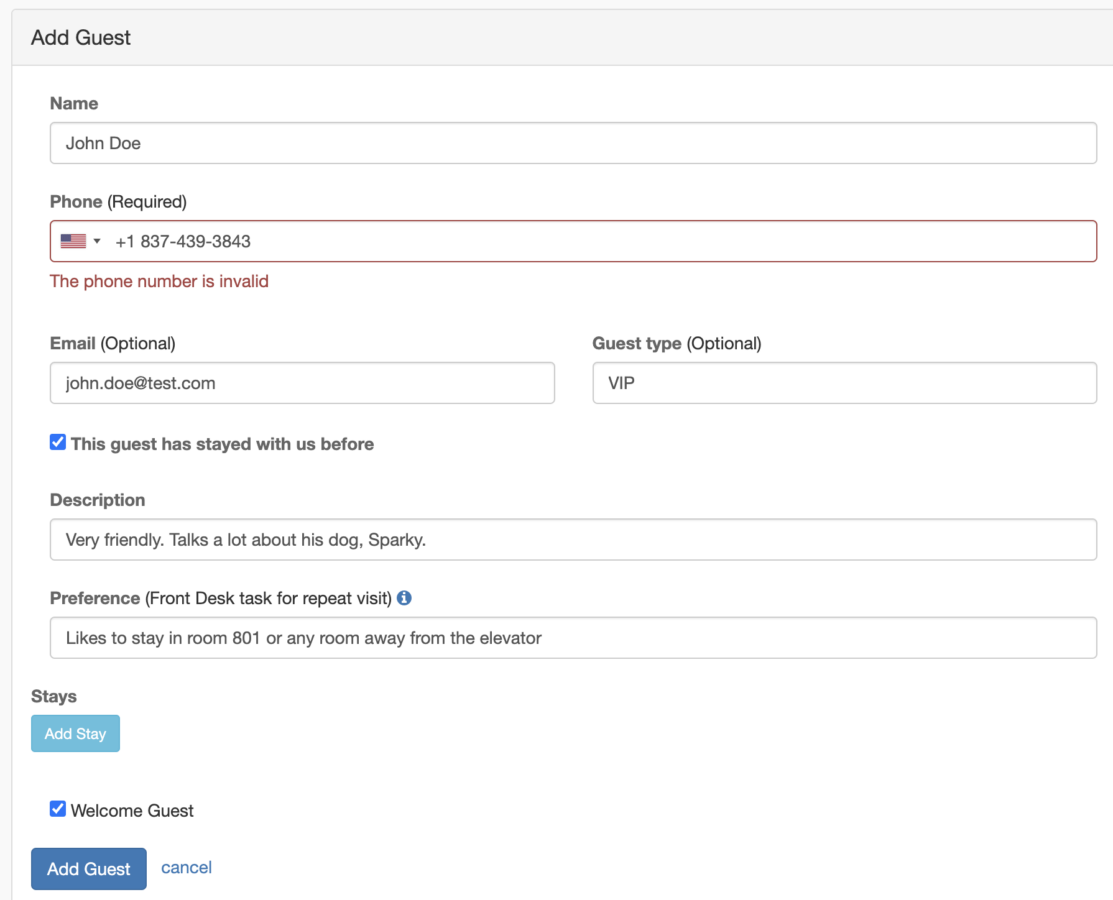
You will be presented with a form to fill in the guest’s information. Here’s a breakdown of the essential fields:
- Name: Enter the guest’s full name for identification.
- Phone Number: this is required in order to activate Guest Messaging
- Email Address: Provide the guest’s email address for communication and notifications.
- Guest Type: Choose one of the options previously set up by the administrator.
- Description: Internal guest description. Feel free to add any relevant details here.
- Preference: What are his room or food preferences, if any?
Reservations
Through the Add Reservations button you’ll be able to set the dates for any upcoming reservation (or multiple reservations) for this guest. If there aren’t any, feel free to skip this step.
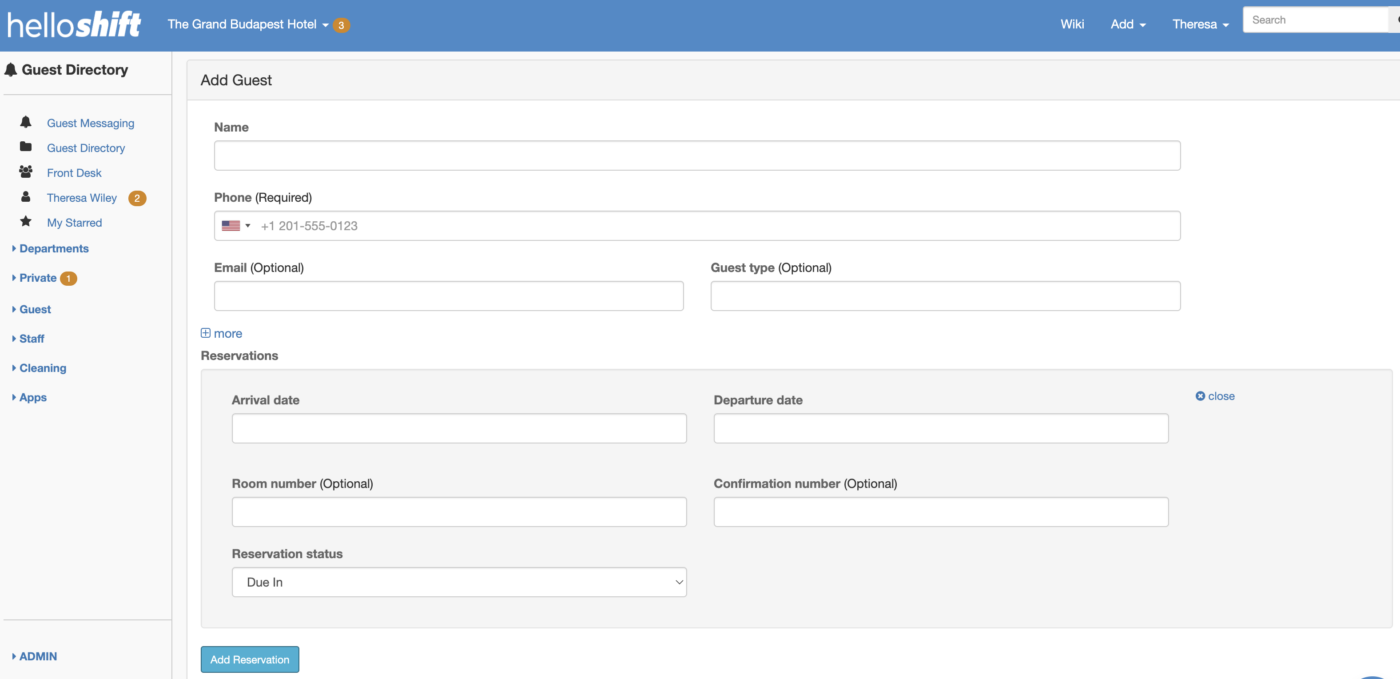
Under the Reservations option, you are able to enter the following information:
- Arrival Date
- Departure Date
- Room Number
- Confirmation Number
- Reservation Status
- Invalid
- Unconfirmed
- Canceled
- Due In
- No Show
- Checked In
- Due Out
- Checked Out
- Transferred
Once you’ve filled in the necessary guest information, click the “Save” or “Submit” button to add the guest to your database. ⭐️
Guest Import
You can also import your guests from an excel or CSV file.
In order to do so, follow these steps:
- Click on Add
- Choose Import Guests
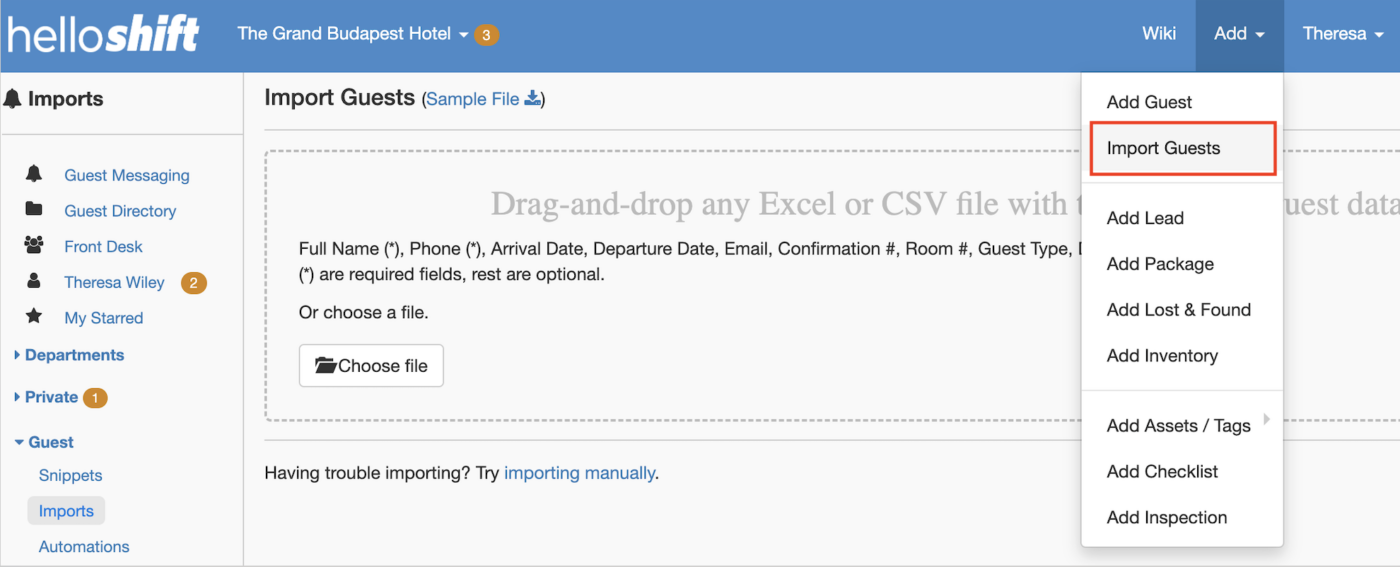
The following screen should appear:
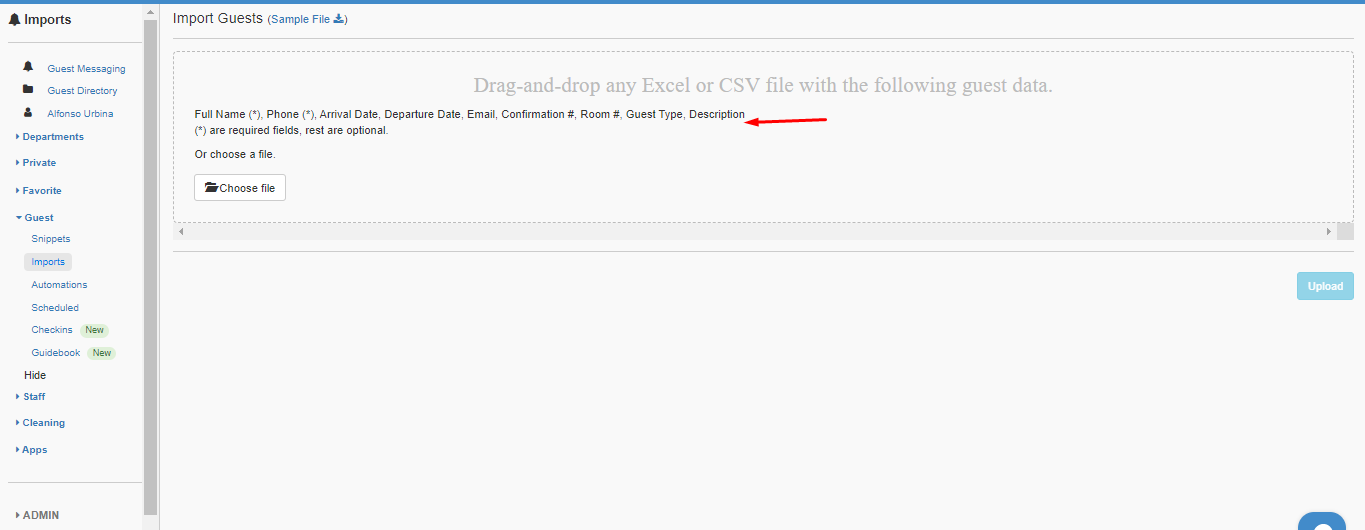
Please note that when importing guests, the title of the headers needs to match the fields requested in the manual Add Guest options.
If you need further assistance with guest import, please contact our support team.