Guest Directory Interface
Our Guest Directory page allows you to easily review the arrivals, departures and other information straight from the main page.
Accessing Multiple Reservations
With this new update, you can now seamlessly access the multiple reservations from the same guest under the same overview page.
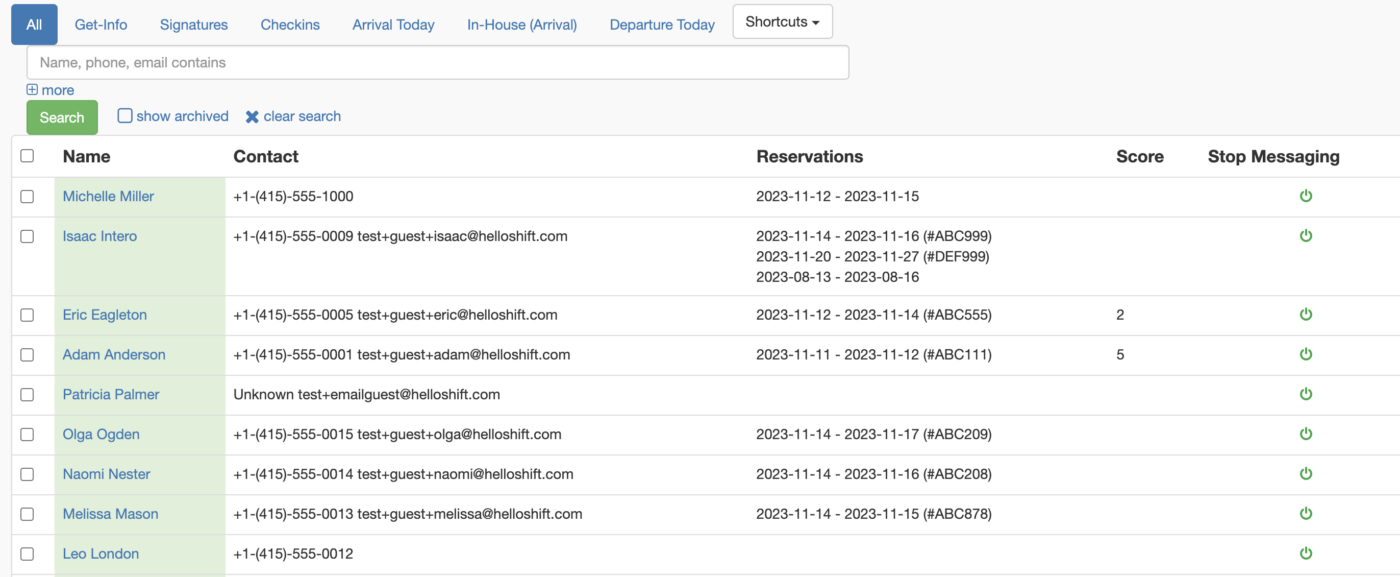
Navigate to the Guest Directory tab on the menu on the left. This will display all of your guests, including the following information:
- Name
- Contact
- Phone Number
- Reservations
- The check-in and check-out date
- Multiple reservations. If there is more than one reservation, a + more sign will show up next to the dates.

Once you click on that + more sign, all the upcoming reservations will display in the drop down.

4. Score. If this is a returning guest, it will display the satisfaction score they have shared from their previous stay.
5. Stop Messaging. Turn the automated messages on/off for this particular guest.
A few changes about the guest directory page.
Sorting
We’ve removed the option to click on the title of any of the attributes on the table and sort your guest list in ascending/descending order according to the attribute.
Now the list displays according to arrival dates first.
“Stop Messaging” Button
The Action button has been replaced with the Stop Messaging button.
Before (no longer in use)❌:

Now (updated version)⭐️:

Search Bar
Historically, you’ve been able to search for a guest through a confirmation number.

This has changed, and you are now only able to search for guests through the following:
- Name
- Phone

Guest Profile Updates
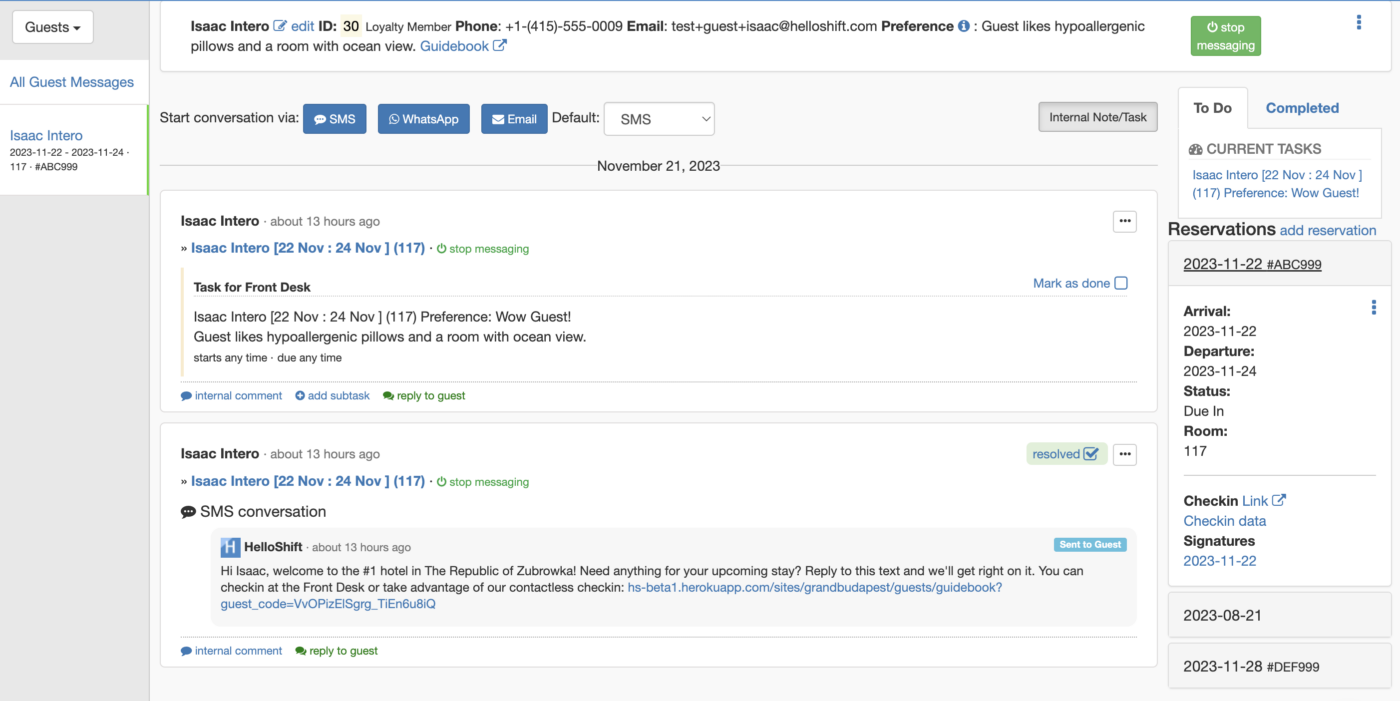
Remember that the Guest Directory page displays your guests listwith an overview of the most relevant information. Through this page, you can click on a Guest Name and open the Guest Profile.
- Go to Guest Directory
- Click on a Guest name
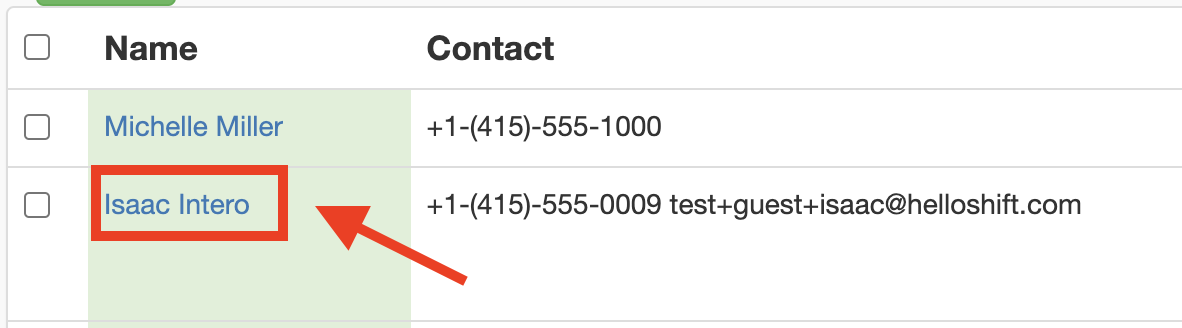
3. The Guest Profile will show up
Guest Reservations
An amazing update on the Guest Profile is the Reservations section on the right side of the screen.
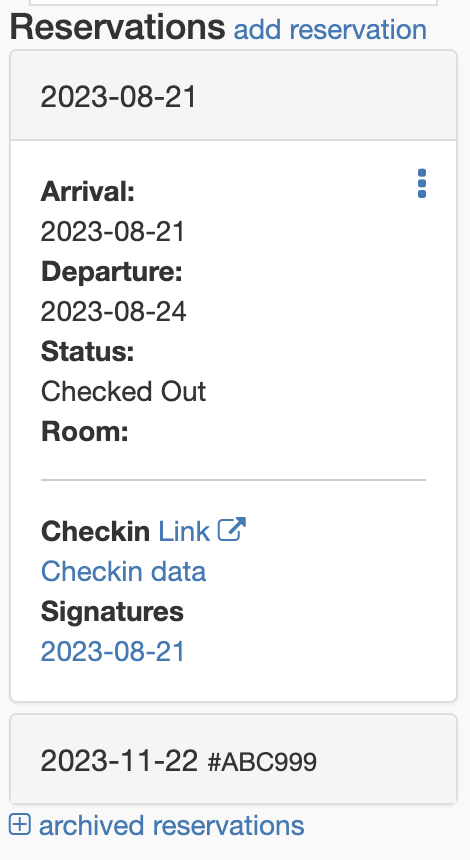
As you can see, this guest has multiple reservations that you can easily access directly from the Guest Profile page.
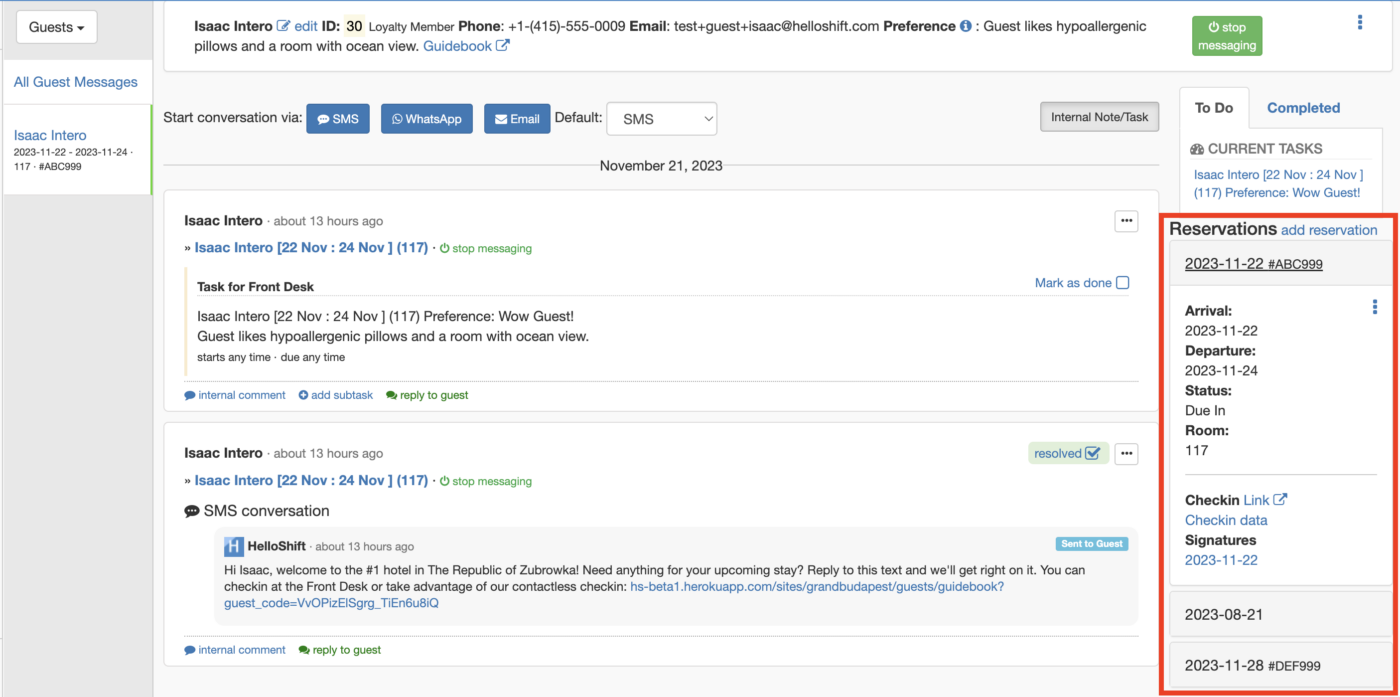
As you can see on the example above, we can see that this guest has three reservations:
- A past reservation from 2023-08-21
- A reservation for 2023-11-22
- A reservation for 2023-11-28
Seamlessly navigate through different reservations with a simple click. By selecting the desired reservation date and clicking on the date directly, the information for every reservation will display.
Next to arrival, you’ll see the option for more actions.
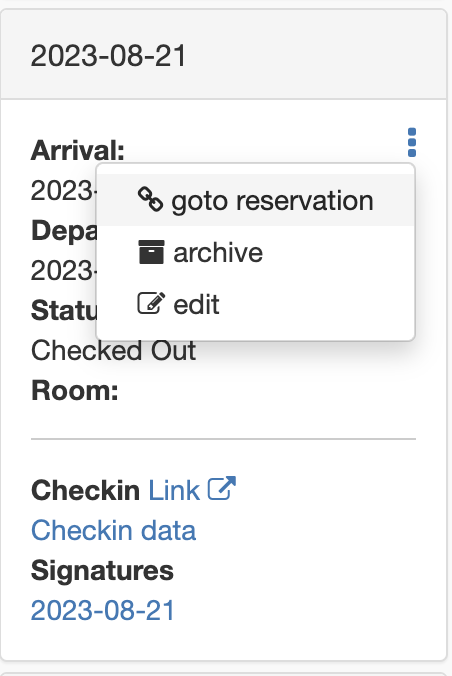
By clicking on the menu for each reservation you are able to:
- Go to reservation
- This will take you from the activity page and all related snippets from the reservation you are currently selecting.
- Edit reservation
- Edit details about that particular reservation.
- Archive reservation
- Make the reservation inactive
Reviewing Archived or Inactive Reservations
When you select to archive a reservation, will still be removed from the general reservations list, but you can still access it as it is saved within your database.
In the example above, we archived the reservation for 2023-11-28. As you can see, it no longer displays in the Reservations list.
Right at the bottom, you can see the Archived Reservations.
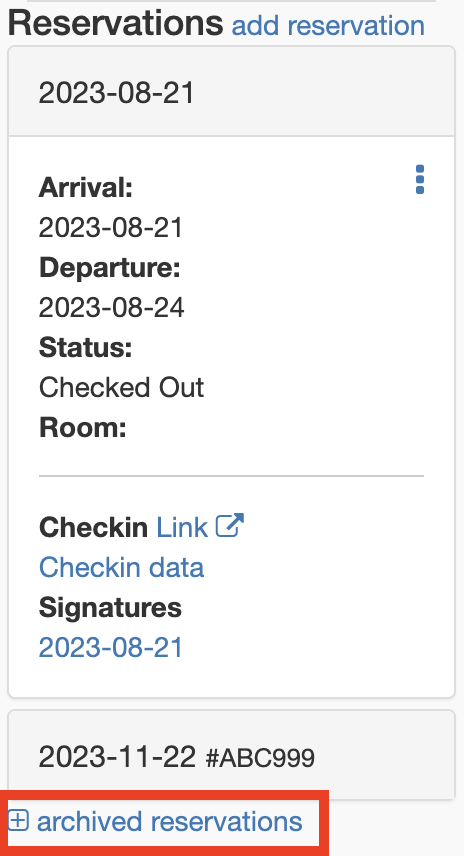
Click here to expand all archived or inactive reservations.
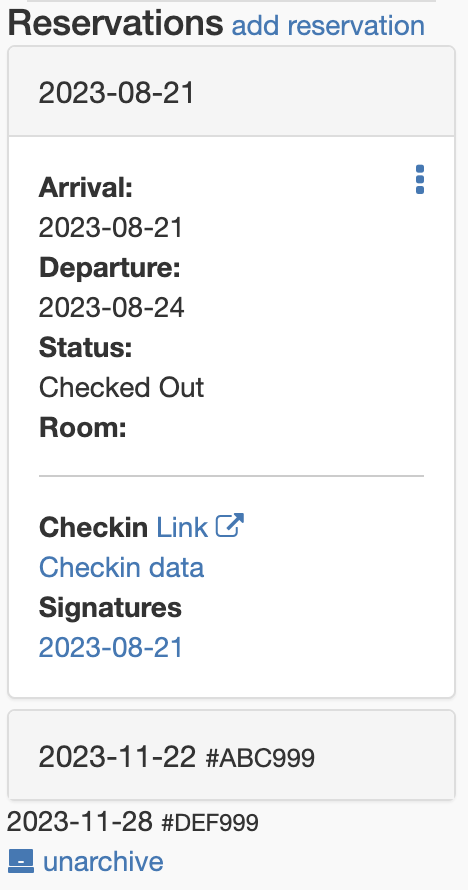
Use the Unarchive button to reactivate a reservation. Once you select this option, it will show up under all other reservations.
If you have further questions about these new updates, feel free to reach us at support@helloshift.com.